SD card is widely used in camera, smartphone and tablet. It's a high efficient mechanism to expand the internal memory of those portable devices so users can put more files such as photos on that. As we all know, data is much more important and valuable then the card itself. When you are planning to abandon the card, or delete the old photos to make more room for further usage, you need to make sure the files being deleted permanently.
According to news report, the deleted files, especially for photos can be restored with data recovery programs. A single deletion is not enough to guarantee the security of your personal data. In order to completely delete photos from SD card, we here introduce a reliable tool dedicated to data wiping. File Wipe for Mac is a powerful and easy-to-use data erasing program that utilizes sophisticated algorithms to permanently destroy the files. The deleted photos will be no longer accessible after deletion with the program, even for federal agents.
Take the SD card out from the device and insert the card into your computer. The position of SD card slot varies on different computers. Take ThinkPad computer as an example, the slot is named eSATA near the HDMI slot. When your card is connected, it should be seen in File Explorer.
File Wipe is a cross-platform data-wiping tool that works on Windows and Mac. In here, we use Windows version as an example. The functions and interface are almost the same with Mac. So don't worry about this when you are a Mac user. Download the Windows version and install it on your computer by following the default installation wizard.

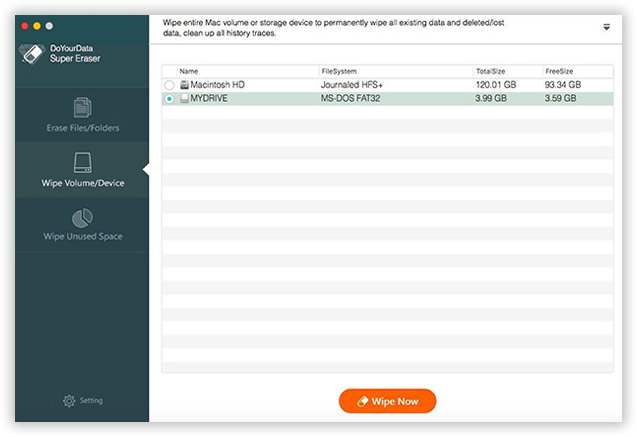
This program is a powerful tool that comes with multiple wiping options, such as wiping unused space, Internet activity, system trace, etc... In this case, select " Wipe Now " option from left sidebar, which helps you delete files or folders individually. Then select the drive name and photo folder of SD card.
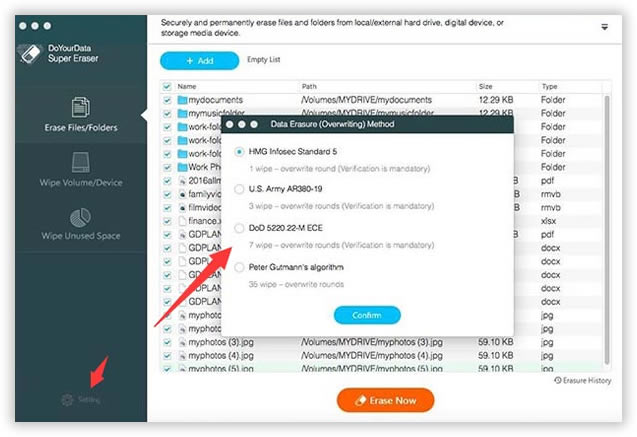
In default, the program uses zero digits to overwrite the existing data on the SD card, which is the fastest wiping method within this program. However, you can choose other complex algorithms from the " Settings -> Set Algorithm for Wipe ". In there, there are totally 12 different algorithms on the list. If you don't know what they mean, just do a search on Google and find out which it means. More complex the algorithm is, more time is required for the photo wiping. Finally, select the one you prefer and back to " Wipe Now " section after that.
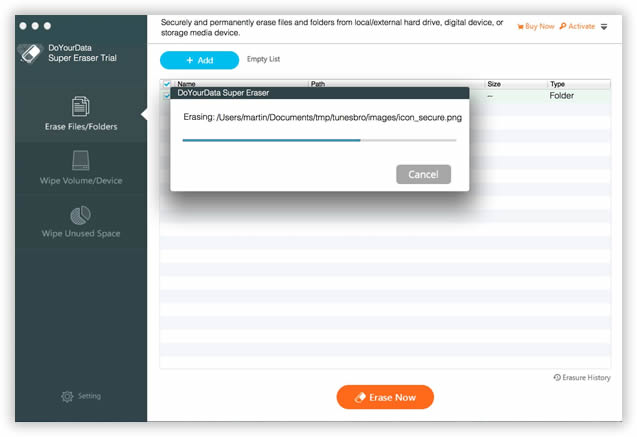
When everything is set, click " Wipe Now " button to start the real wiping process. This would take sometime, depending on how many files on that SD card and which wiping algorithm you chose. Make sure the computer runs during this process.
The above tutorial is the recommended way to delete sensitive data on your SD card, as a single delete is not secure enough to protect your personal information. By using this SafeWiper File Wipe, the photos will be destroyed completely. Even with the most sophisticated data recovery program, it's still impossible to retrieve a single piece of information from the card. We need to do this as the hackers are all around us. If we didn't do as the above, then we put ourselves in danger.


![]()
![]()
![]()