Due to the constant change in the iOS Smartphone technology easily nowadays, Apple's iPhone keeps getting upgrades and most iPhone users can't wait to choose upgrading to the latest version, which means that you will leave your old iPhone behind, passing it on to someone else, or sell it and purchase a new one, another reason is that it might have been regularly damaged or crashed and you no longer use it. But no matter what your reason is, ensuring that contacts were permanently erased is a very significant thing you have to do first before selling your old iPhone device, if you won't do it first, your information isn't potentially secure and protected, some criminals can easily get your contacts and target your money, access to your personal information, identity, so, you have to permanently erase contacts from iPhone before selling it.
At this point, Apple was poorly thought out, though Apple iPhone Operating System has undergone its many updates but it still lacks much basic functionality like option to permanently delete all contacts without recovery possibilities. Many users have erroneously held that the contacts will gone by only pressing “Delete” button, in fact, this is a big misunderstanding, when you figure out the principle of iPhone storage you will know all contacts will be moved and still stored in the internal storage by only performing “delete” operation, it can be easily recovered with professional iOS data recovery program.
To ensure all contacts were permanently deleted and are irrecoverable, it is highly recommended that you utilize iOS Data Eraser program to completely and permanently wipe contacts off iPhone, it can hide the traces and no one knows you had erased your device.
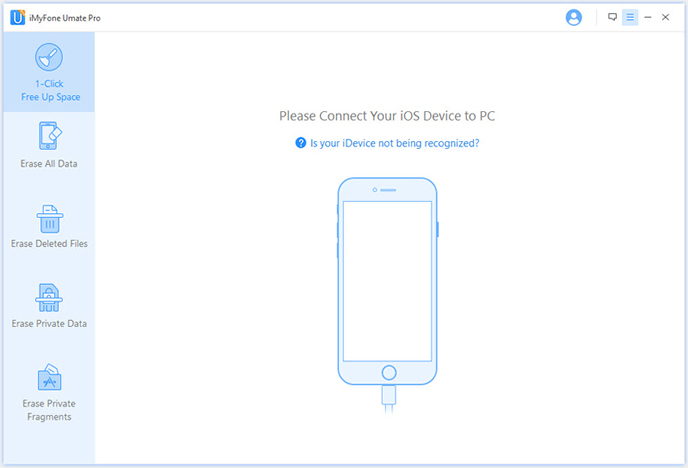
Before you start using it, you need to install and set it up, it has gained a new-look installer, easy to install. When the installation is complete, launch it! It provides four eraser modes, select the right option you need.
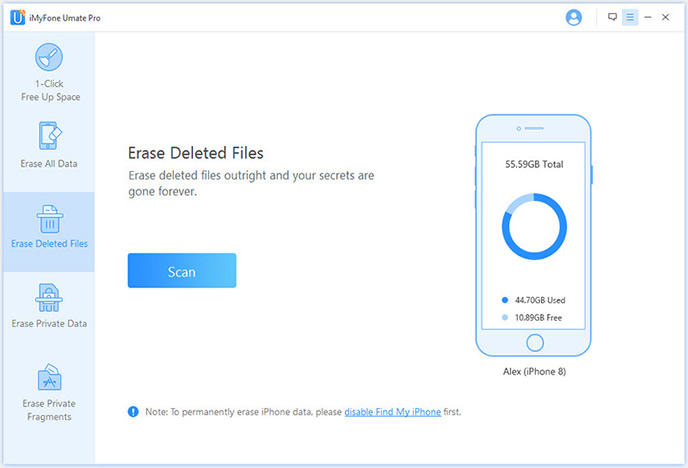
As you can see in the following panel, It provides four options: "Express Cleanup" "Erase Private Data" "Erase Deleted Files" and "Erase All Data" , select right one you need. This article will take "Erase Deleted Files" as an example:
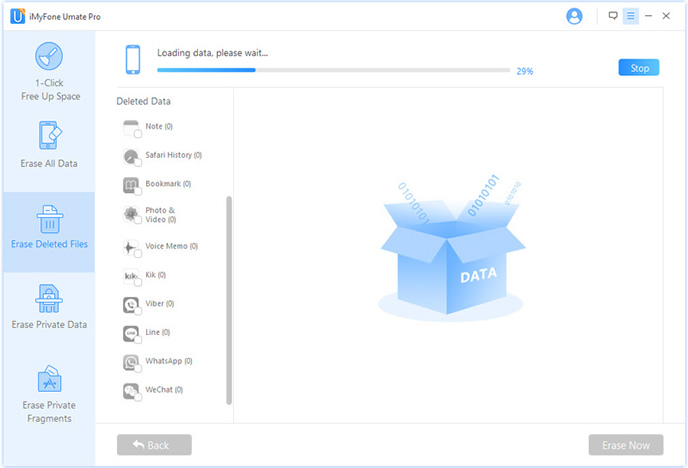
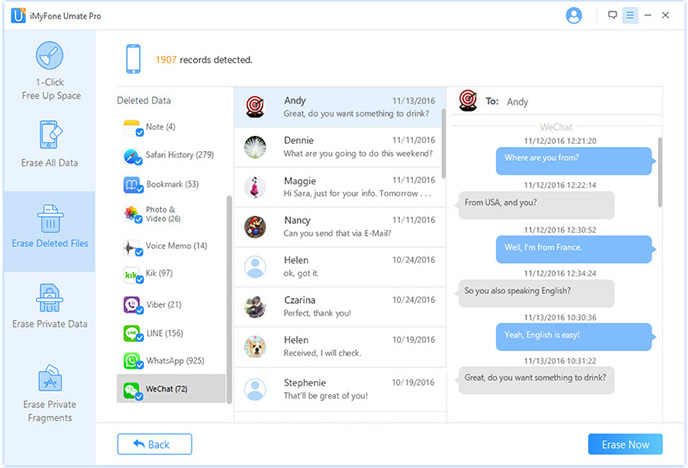
In this step, it will automatically analyze and scan all your deleted files in your iPhone device; generally it takes few minutes to complete the process depending on the file, all of your deleted files will be displayed in the panel.
Now it will officially start wiping iPhone contacts or other files, keep your iPhone connected during the whole course. When it's complete. Your iPhone gets started with a clean slate now.
As you can see, simple deletion is not enough, all deleted files can be scanned easily, to protect your privacy and security, this Safe Wiper Program does the cleaning work better, it can smash everything on your iPhone, and even the government recovery tool can't retrieve anything from it. After the erasing, your iPhone returns to be a new one. No one can recover data from it, regardless of using any data recovery software, it also hide all the erasure trace, nobody knows you have wipe contacts off iPhone device..

![]()
![]()
![]()